1. Project Management and Documentation#
This week I worked on defining my final project idea and started to getting used to the documentation process.
Getting Started with Gitlab and VSCode#
As a beginner with no prior experience using GitLab and only basic coding knowledge, I faced some challenges in knowing where to start. However, after consulting other students’ pages and asking my fellow colleague for guidance, I found a helpful resource that showed me the steps to get started.
Basic Setup Steps for Mac Users#
The following steps were from here.
1. Install Homebrew#
Homebrew is a package manager for macOS, making it easier to install software. You can download it here.
2. Install Git#
After installing Homebrew, open your terminal and install Git using the following command:
brew install git
3. Generate an SSH Key#
To securely connect to GitLab, you need an SSH key. Follow the instructions on the GitLab SSH documentation to generate an SSH key on your Mac.
4. Add SSH Key to GitLab Account#
Once you have the SSH key, add it to your GitLab account by following the instructions on this page.
You should see a message like “Welcome to GitLab” if the connection is successful.

5. Configure Git#
Configure Git with your name and email to link your commits to your GitLab account:
git config --global user.name "Your Name"
git config --global user.email "your.email@example.com"
6. Set VSCode as my Default Editor#
VSCode will be the default editor for my Git
Cloning My Repository#
Initially, I followed step-by-step instructions on how to clone my repository, but I discovered that this could be done directly within VSCode as well.
1. Download and install VSCode on your Mac if you haven’t already.#
Download and install [VSCode] on your Mac if you haven’t already.
2. In VSCode, you can easily clone your repository by:#
-
Go to the Source Control panel.
-
Click on the “Clone Repository” button.
-
Use the SSH URL of your GitLab repository to clone
Working with Visual Studio Code#
1. Open the Cloned Repository in VSCode#
- In VSCode, go to File > Open Folder… and navigate to the folder where you cloned your repository.
- Select the folder and click Open to load the repository in VSCode.
2. Edit Files#
- Click the specific module you want to work on
- Start editing
- Dont forget to save just in case you still want to work on it later on before commiting changes
3. Stage and Commit Changes#
- Open the Source Control panel (the third icon on the left sidebar).
- Click the + icon next to the file(s) you want to stage, such as index.md.
- Write a meaningful commit message in the text box at the top of the panel.
- Commit your changes by clicking the checkmark icon (✔️).
4. Push Changes to GitLab#
- Once you’ve committed your changes, push them to GitLab using the Push option in the Source Control panel.
Compressing and Converting images#
Step-by-Step Guide: Resizing Images in Preview on macOS#
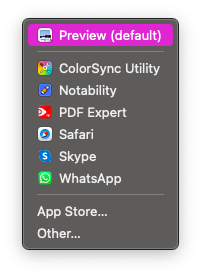
Step 1: Open the Image in Preview#
Right-click the image file you want to resize, select Open With, and choose Preview.
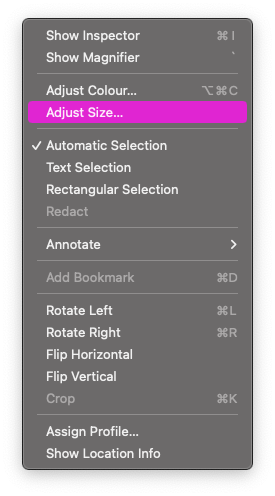
Step 2: Access the Adjust Size Menu#
Once the image is open in Preview, click on the Tools menu in the top menu bar.
From the dropdown, select Adjust Size....
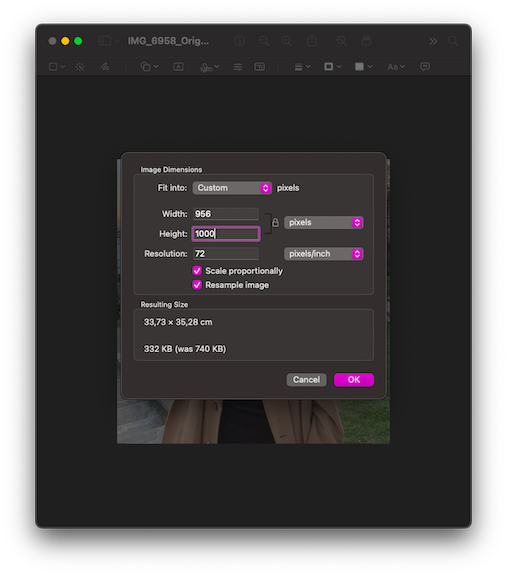
Step 3: Resize the Image#
In the Image Dimensions dialog box that appears, enter the desired width and height in pixels. You can see the original and new file size under Resulting Size. Make sure Scale Proportionally and Resample Image are selected to keep the image quality intact. Click OK once you’ve entered your desired dimensions.
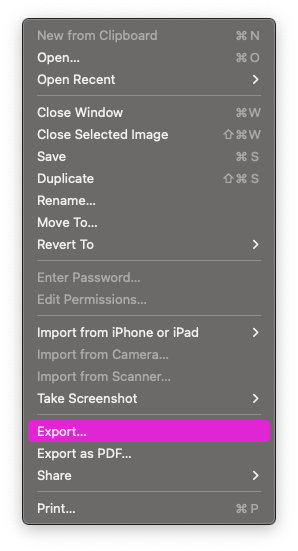
Step 4: Export the Resized Image#
After resizing, go to the File menu in Preview and select Export… to save your resized image.
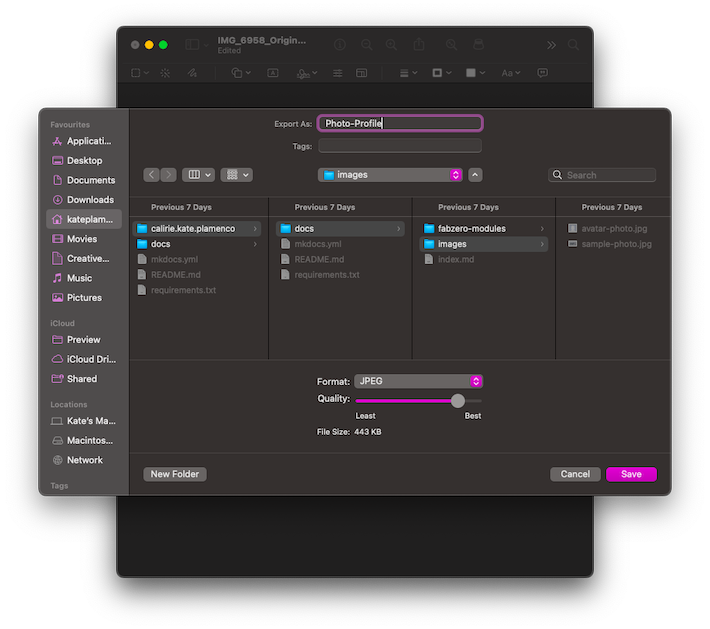
Step 5: Choose File Format and Quality#
In the Export As dialog, give your image a name, select the desired file format (e.g., JPEG), and adjust the quality using the slider. Choose the folder where you want to save the file. Once everything is set, click Save.
Project Managment Principle Used#
In my project management approach for the FabZero modules, I utilized Spiral Development.
Starting with a simple, foundational version of my project and then gradually enhancing it with additional features and improvements as I had time.
I began by setting up the essential components, such as cloning the repository and using my notes to document, and as I became more familiar with the tools (like VSCode and GitLab), I began adding my documentation into my modules in VScode
I eventually added more details and refined my work. This method helped ensure that I had a working version at every stage, reducing stress and keeping me on track, even if time was limited.
What I have Learned#
I discovered that using Markdown is an efficient and straightforward way to create content for my webpage where it allows for simple formatting without the complexity of traditional HTML, making it accessible for beginners.
I also learned how to use a code editor, specifically VSCode, to interact with my GitLab repository. Instead of relying solely on the terminal for tasks like cloning a repository, pushing changes, and pulling updates, using VSCode has made these operations much more user-friendly and intuitive.